[SwiftUI] Lazy한 Stack과 Grid

오늘은 Lazy한 Stack과 Grid의 사용법에 대해서 알아보자!👩🏻🍳
Lazy?
Lazy는 '게으른'이라는 의미로 많은 양의 데이터를 처리할 때 보다 효율적이고 적은 메모리 사용량으로 앱의 성능을 향상시킨다. 기본 Stack은 선언되면 즉시 모든 View를 로드하는 반면 List와 Lazy 컴포넌트들은 필요한 시점에만 View를 로드하여 보다 효율적으로 사용할 수 있다.
LazyVStack / LazyHStack
LazyVStack과 LazyHStack은 각각 세로 및 가로 방향의 스택을 생성한다.
기존의 Stack은 빌드하면 모든 View를 생성하고 로드하게 되는데 많은 양의 데이터를 처리할 때는 비효율적이다. 반면 LazyStack들은 화면에 표시되는 부분만 View를 로드하기 때문에 많은 데이터를 처리할 때 효율적으로 사용할 수 있다.
LazyVStack | Apple Developer Documentation
A view that arranges its children in a line that grows vertically, creating items only as needed.
developer.apple.com
LazyHStack | Apple Developer Documentation
A view that arranges its children in a line that grows horizontally, creating items only as needed.
developer.apple.com
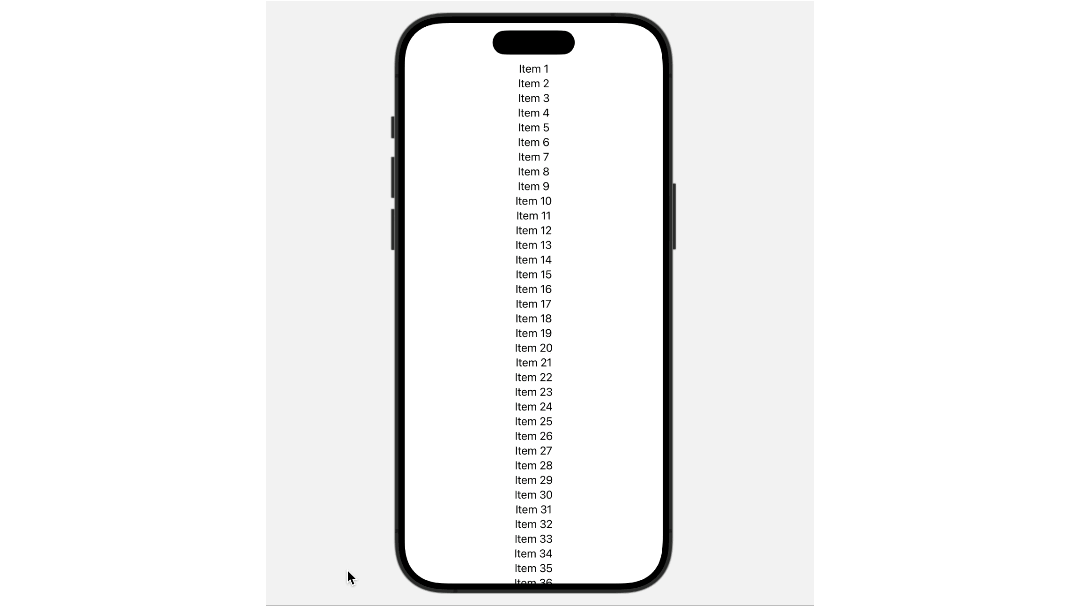
예시 코드를 활용해서 직접 테스트해보자.
struct ContentView: View {
    var body: some View {
        ScrollView {
            LazyVStack {
                ForEach(1...1000, id: \.self) { i in
                    Text("Item \(i)")
                }
            }
        }
    }
}
화면에서는 잘 알기 어렵겠지만 화면에 보이는 부분만 로드되는 것을 볼 수 있다.
LazyVGrid / LazyHGrid
Lazy가 붙은 컴포넌트는 기능이 다 유사하다고 보면 된다. 이 그리드는 UIkit의 CollectionView와 유사하다고 이해하면 된다. 열 구조를 정의해서 columns 매개변수와 그리드에 추가할 View를 정의한다.
LazyVGrid | Apple Developer Documentation
A container view that arranges its child views in a grid that grows vertically, creating items only as needed.
developer.apple.com
LazyHGrid | Apple Developer Documentation
A container view that arranges its child views in a grid that grows horizontally, creating items only as needed.
developer.apple.com
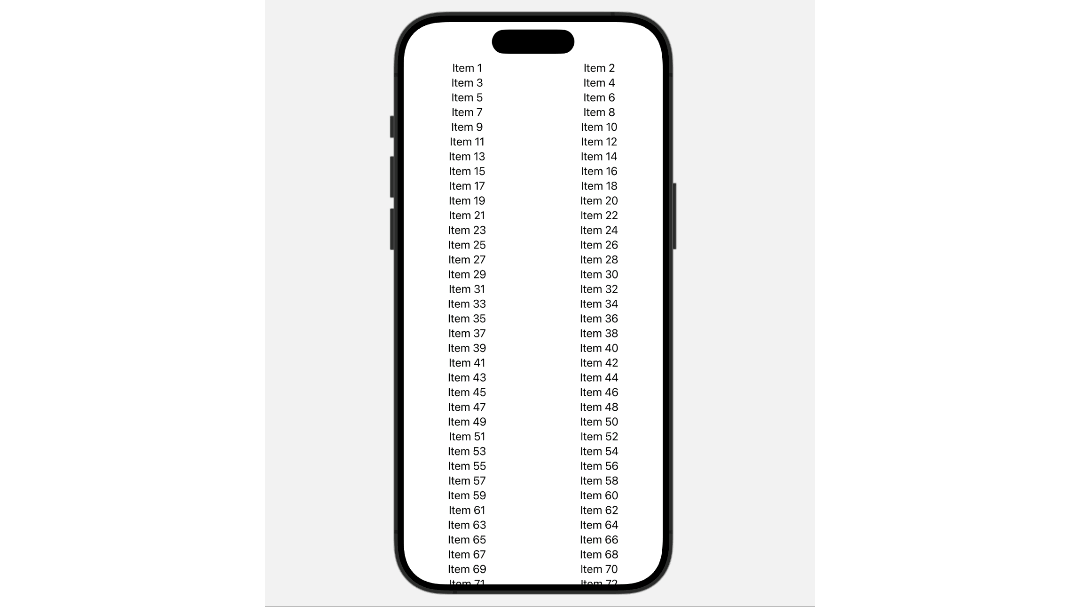
예시코드를 사용해서 직접 테스트해보자.
struct ContentView: View {
    let columns = [
        GridItem(.flexible()),
        GridItem(.flexible())
    ]
    var body: some View {
        ScrollView {
            LazyVGrid(columns: columns) {
                ForEach(1...1000, id: \.self) { i in
                    Text("Item \(i)")
                }
            }
        }
    }
}
오늘의 코드 레시피👩🏻🍳 완료!🩷